Introduction
Ghost and Wordpress have taken the lion’s share of blogging platforms, but static site generators like Jekyll and Hugo are not completely lost to technical content makers. It has its own distinct charm.
Hugo, in particular, is called the fastest framework for building websites in the world. This tutorial will teach you how to set up a local development machine environment for a Hugo-powered basic website and then deploy it to Netlify.
Pre-requisites
This tutorial will assume that you are on a Windows 10 machine, use a Github account (and that you are familiar with basic git commands plus have Git installed on your local machine), and created a free account in Netlify. If you are also building the site from source code, you might also need to install Go before running the installation from source for Windows.
Installing Hugo on Your Local Machine
Get Hugo Running on Windows
The fastest way to install Hugo on your local machine is by using the Chocolatey package manager for Windows. You can check out our ATA Chocolatey installation guide here for more details. You can also try to build Hugo from source but that’s a bit more complicated to set up.
Hugo Install Using Chocolatey
In Powershell, type in one of these commands:
Basic install:
choco install hugo -confirm
Extended SaSS version install:
choco install hugo-extended -confirm
Hugo Install Using Scoop
In Powershell, use either of these depending on your intended installation version:
Basic install:
scoop install hugo
Extended SaSS version install:
scoop install hugo-extended
Hugo Install from Source
This is considered a last resort if the first two package management software methods for Windows are not able to generate the installation results that you want.
Based on experience, though, the pre-loaded binaries for Windows are already a fairly straightforward process and takes less than a coffee break.
- Make sure you have Git and Go installed in your local machine.
- Clone the source code from Github and install using Go with the following commands:
mkdir $HOME/src
cd $HOME/src
git clone https://github.com/gohugoio/hugo.git
cd hugo
go install
Note: Make sure to set $HOME as the %USERPROFILE% in these comands.
Add Hugo to User Variable PATH

Type in C:\Hugo\bin as an additional row entry to the Path.
Create a Test Website Project
Once you have gotten the Hugo local installation working on your local machine, it’s time to build a test website that you can later deploy to Netlify through Github. This section will walk you through the basics of building a website in Hugo and adding basic content to it.
- In the command line, verify first that you have successfully installed Hugo by typing this command:
hugo help
- Assuming you have not changed the default settings during installation, switch to the Hugo Sites directory. (C:\Hugo\Sites for most cases) and run this command
hugo new site ataexample.com
- Inspect the folder contents. Basic site structure will look like this:

Link Website Project Directory to a Github Repository and Install a Basic Theme
- Enter the website directory and initiatlize a git repository:
cd ataexample.com
git init
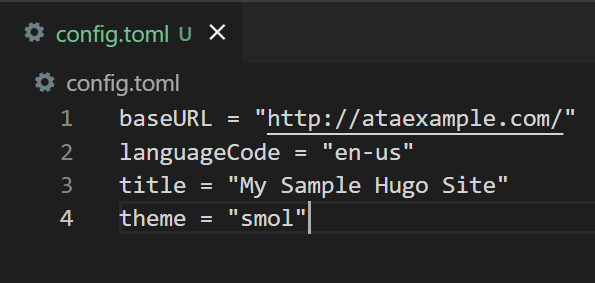
- Install a basic theme and add the theme name of the config.toml file.
git submodule add https://github.com/colorchestra/smol themes/smol
cd ..
In this case, we used Smol theme from the Hugo Themes Gallery and it has the name smol on the config.toml.
- From your account on Github, create a new repository and get the URL of that repo.
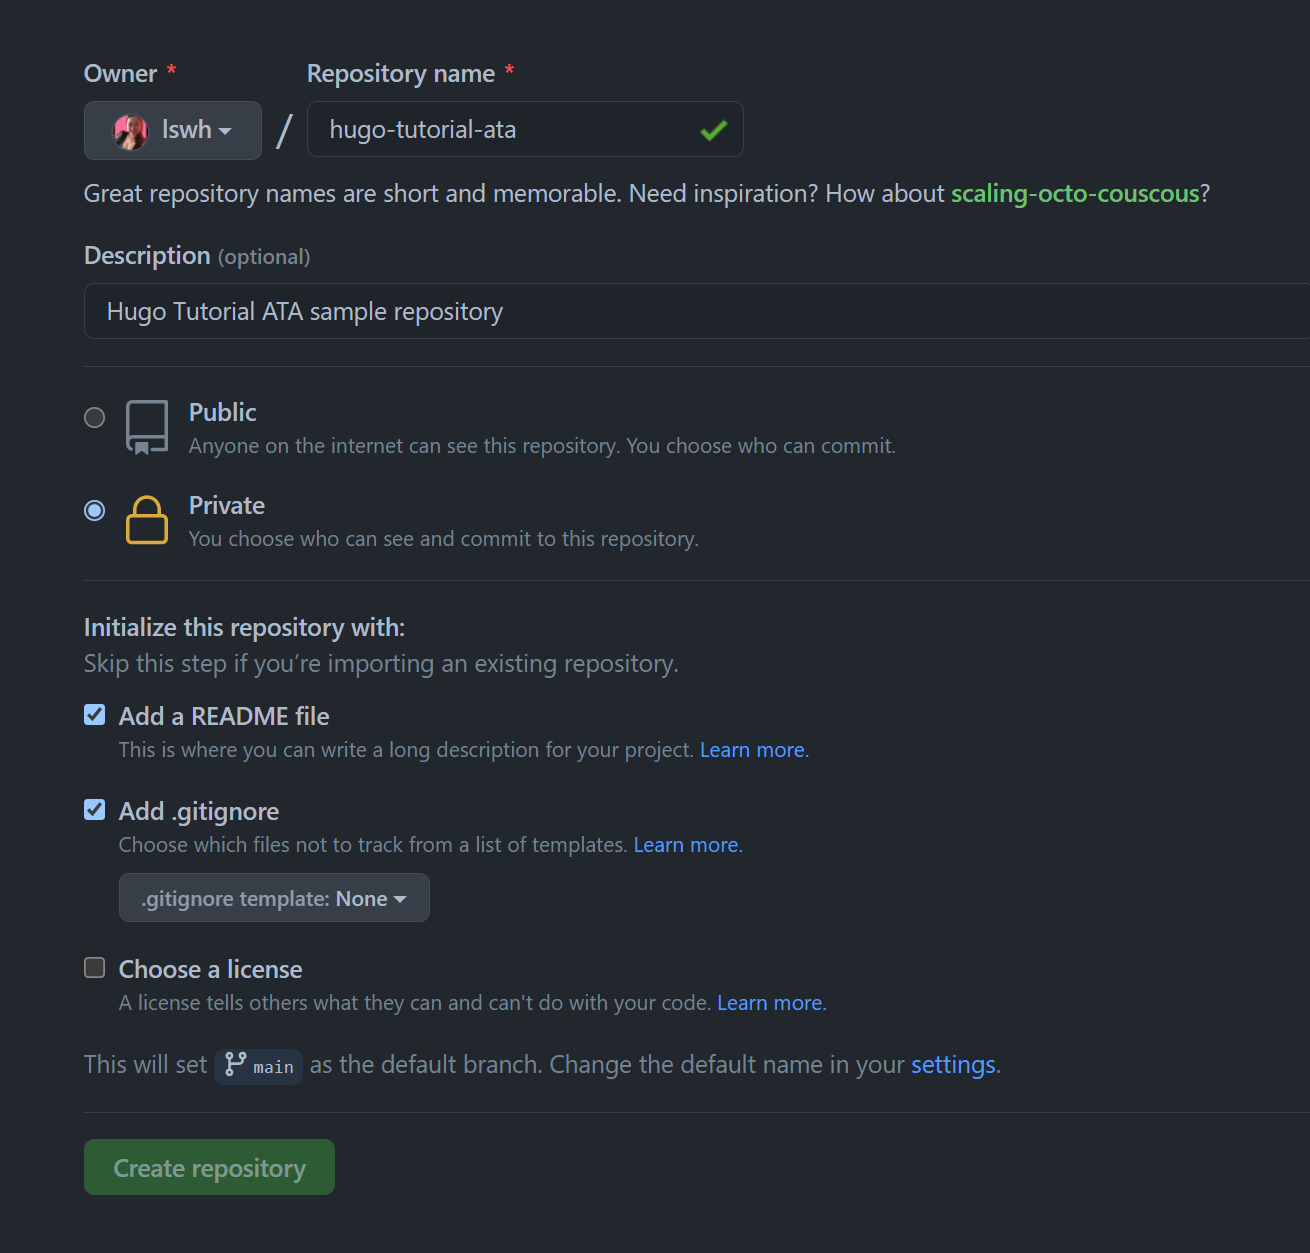
For a sample git repository I named hugo-tutorial-ata, these are the commands:
git remote add origin https://github.com/lswh/hugo-tutorial-ata.git
git branch -M main
git add .
git commit -am "Added first Hugo files"
git push origin main
Confirm that you can see all the files from your local machine on the Github repository.
-
You can now generate dummy content from here and preview the site locally. At this point, you can already see the local site on your Windows machine. You can run
Hugo server -Dcommand and by default you will be able to see the site on your browser at localhost:1313. You can also runHugo new content/posts/sample-post.mdand it will generate a markdown file with a blog post entitled Sample Post. -
Each time you add new content, push the changes in the Github repository.
Moving from Local to Netlify
Assuming that you are already content with how the local website sample looks from your machine, it’s time to deploy the static site on Netlify from the Github repository.
-
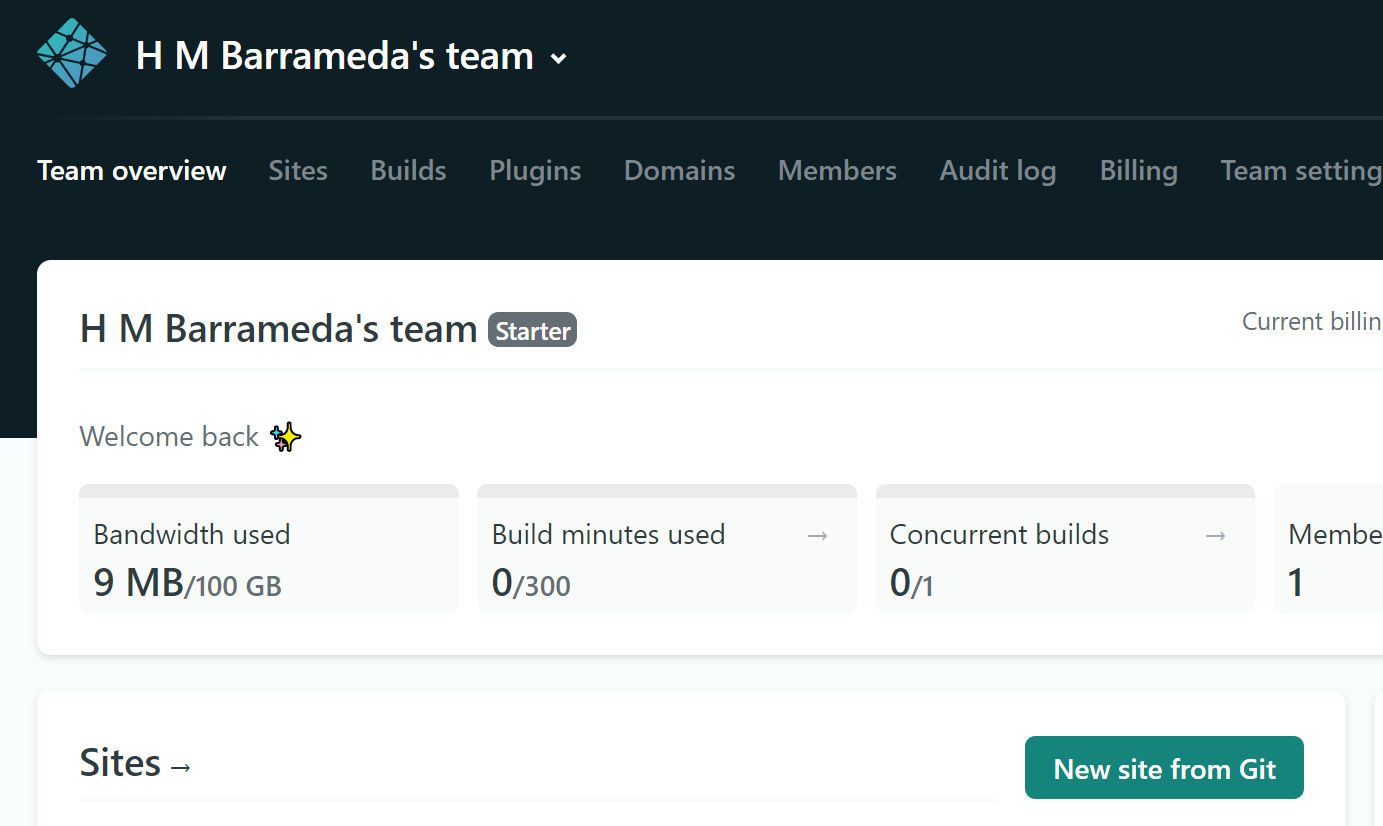
Create a free starter account at Netlify.
-
Prepare your local Hugo website by adding in a netlify.toml file at the root directory containing these lines:
[build]
  command = "hugo"
  publish = "public"

[build.environment]
  HUGO_VERSION = "0.82.0"
To find out the correct Hugo version just type hugo version from the command line on your Windows machine and copy it to this configuration file. Push this additional file change on your Github repository using these commands:
git add netlify.toml
git commit -am "Added Netlify config file"
git push origin main
- From the dashboard click the “New Site from Git” button.
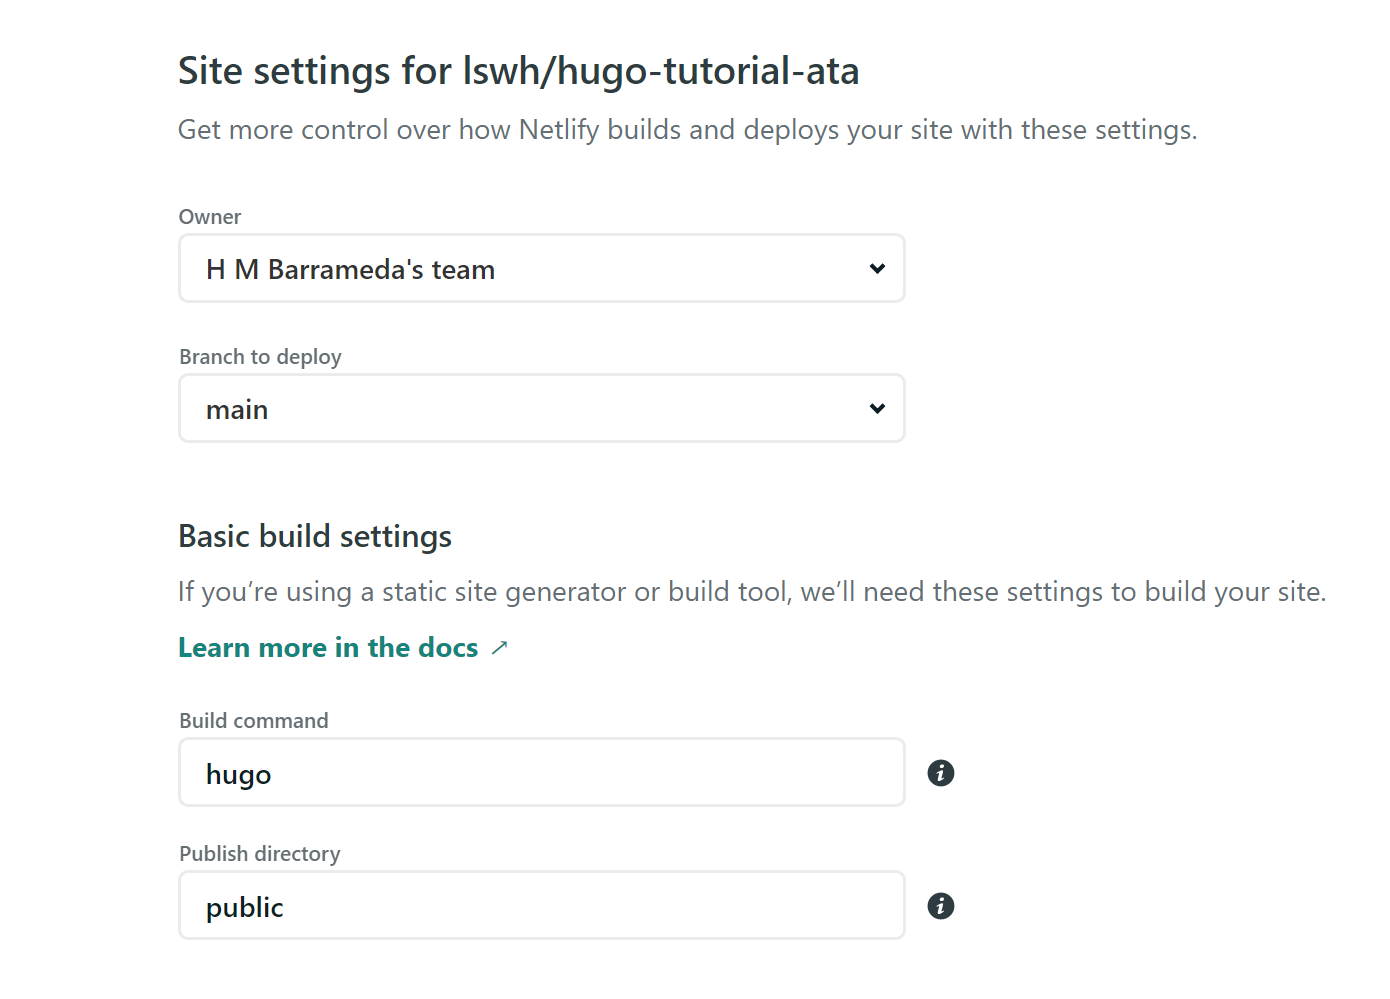
- Connect your Git provider (in this case, we used Github although Bitbucket and GitLab is also possible!) and select the repository from the previous step. If you are doing this for the first time on Netlify, it will seek authorization approval to access your Github repositories. You can either add all your repositories or for better security, choose only the repositories that you want hosted on Netlify. After that, add in hugo as the Build command:
- Click Deploy Site once done.
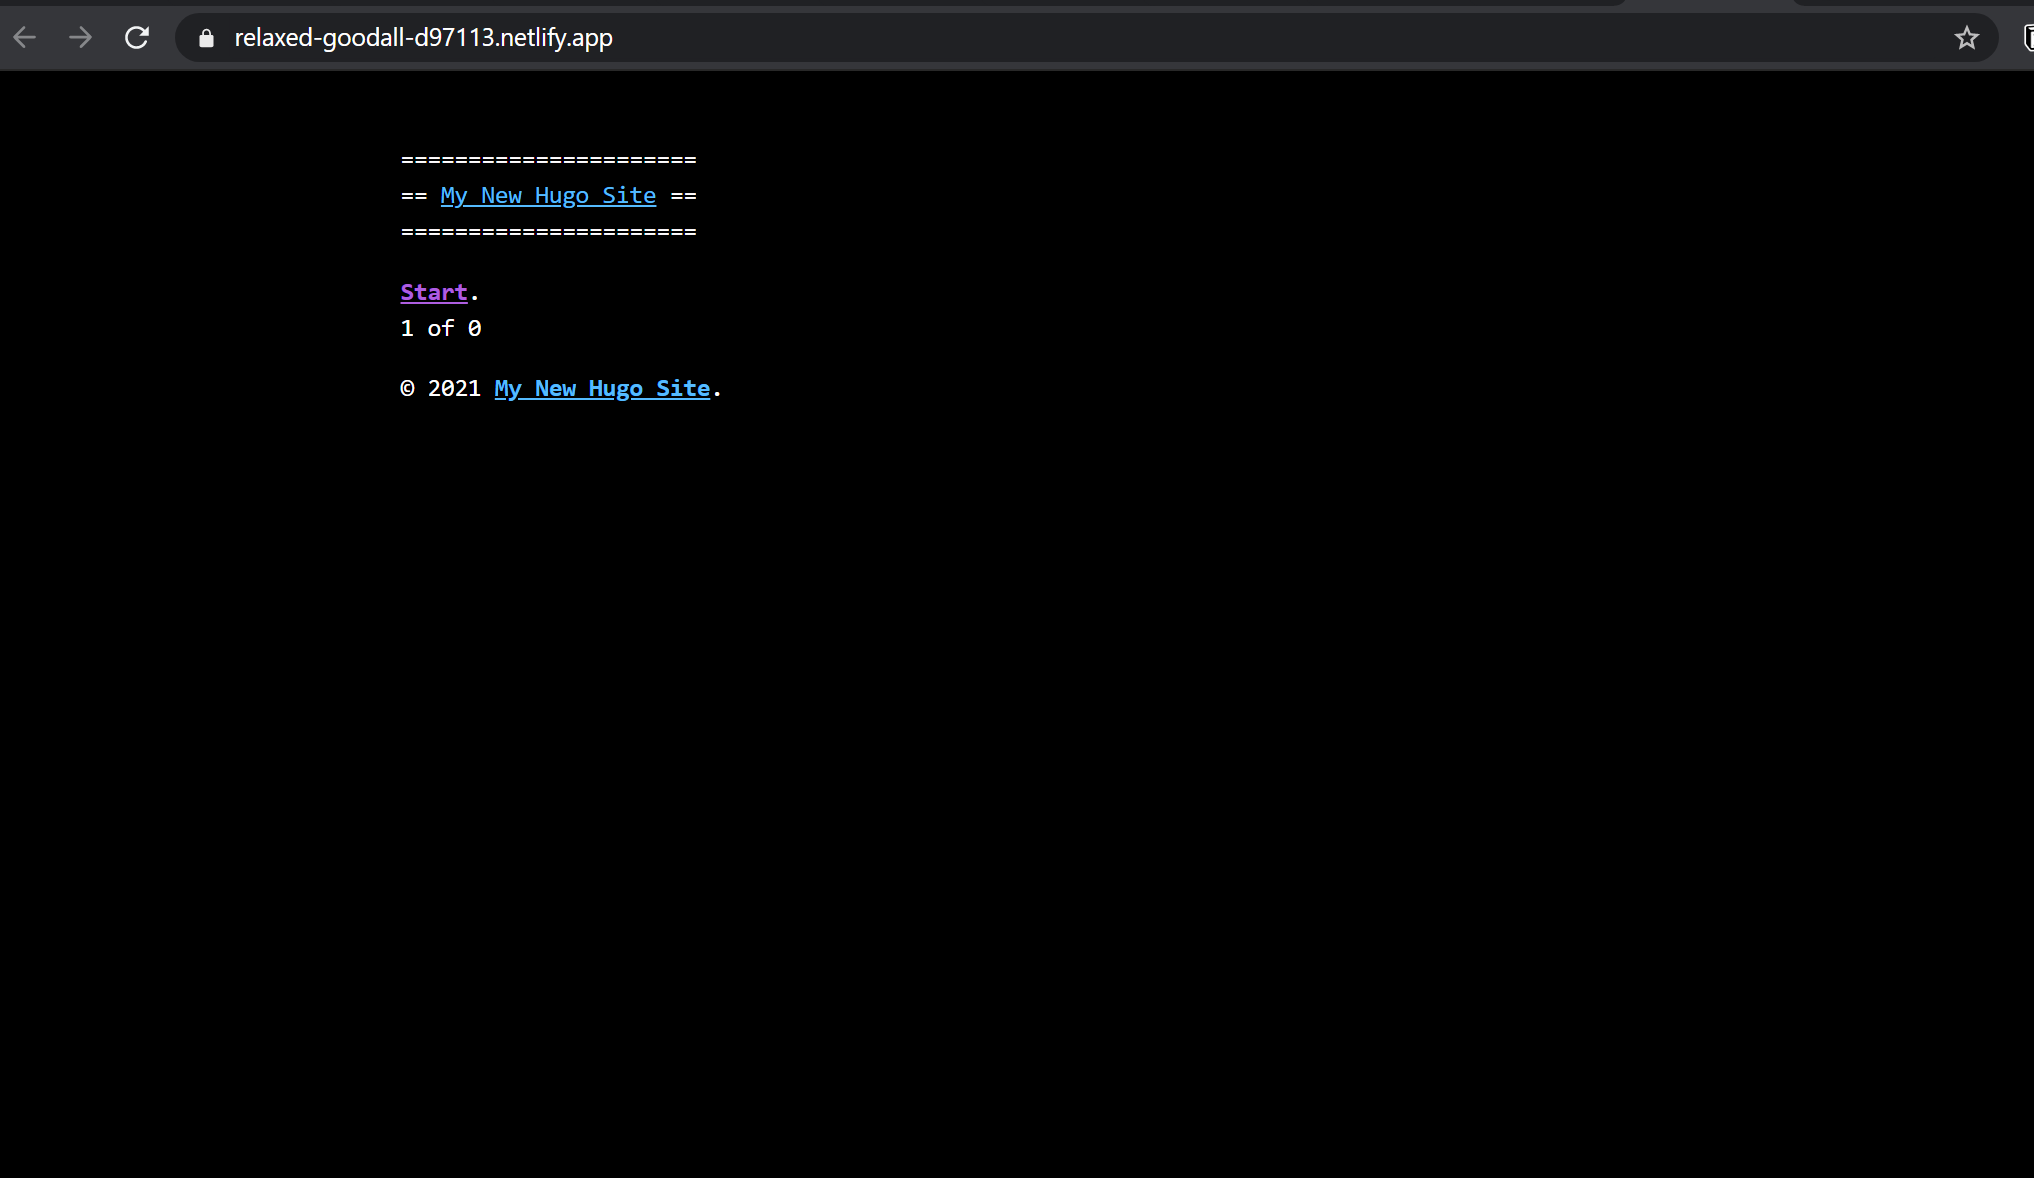
You can now see the static website hosted publicly on Netlify using your Github repository from your local machine. It will auto-deploy the new version of the site each time you add new content and push the changes to the repository linked to Netlify.
Conclusion
At times where you need to quickly spin up a free and short static content for work or for your personal projects, you can consider this to be a fairly straightforward method to help you publish content freely.
If you find this to be completely satisfactory, you can also additonally configure a paid domain to point to your Netlify app. You can also get to know more about the lowdown between static and dynamic websites by checking out this deep dive article.